
Printer alignment test page
Alignment faults are the ones people live with for years without naming: text with a faint shadow, lines that look soft, a page that is subtly crooked. This sheet makes them measurable. It prints a 5 mm grid, two crossed diagonals in cyan and magenta, and a vernier scale that reads misalignment in tenths of a millimetre.
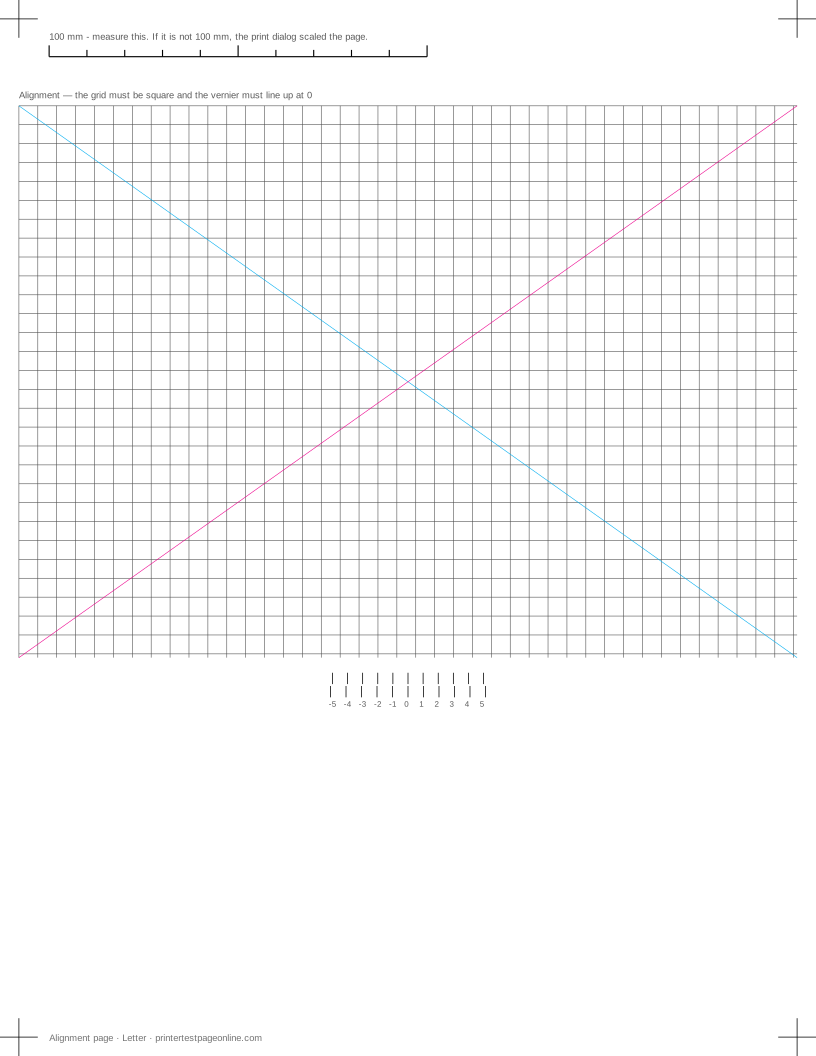
Print it at 100% scale, then run your printer’s own alignment routine and print it again. The two sheets side by side show whether the routine actually helped.
What this sheet prints
| Block | Height | Inks used | Shows |
|---|---|---|---|
| Registration marks | 12 mm | C, M, Y, K | The grid lines or registration marks do not line up; The crop marks or edges are cut off |
| Alignment grid | 160 mm | K | The grid lines or registration marks do not line up; The whole pattern sits crooked on the sheet |
The sheet uses 178 mm of the 269.4 mm printable height on Letter, inside a 5 mm margin — the tightest edge most consumer printers can hold. It is also available as a Letter PDF and an A4 PDF.
Reading the vernier
The vernier is two rows of marks. The upper row is evenly spaced; the lower row is offset by a tenth of a millimetre more at each step. Find the pair of marks that line up exactly and read the number under it. Zero means the head is aligned. A reading of +3 means the two print directions are 0.3 mm apart, which is enough to make 8pt text look soft.
This works because the eye is far better at judging whether two lines coincide than at judging a small gap — the same trick a caliper uses.
The grid and the diagonals
Every grid line should be straight, unbroken and meet its neighbours at a right angle. Wavy lines point at the paper feed. Lines that are broken at regular intervals point at nozzles.
The two diagonals are there for registration between colours: they are printed in cyan and magenta and must cross cleanly at the centre. A visible offset between them means the colour channels are not landing in the same place, which is a different fault from black-only misalignment and matters most on photographs.
Is it the head or the paper?
A skewed print and a misaligned head look similar at a glance and have completely different fixes. Measure the distance from the top-left crop mark to the paper edge, then the same at the bottom-left. If the two differ, the sheet fed crooked and the problem is the paper guides, an overfilled tray or a worn feed roller. If they match but the vernier reads off zero, the head is misaligned and the printer’s alignment routine is the fix.
After running the alignment routine
Printer alignment routines print their own pattern and either read it back with the scanner or ask you to pick the best-looking block. Both are approximate. Reprinting this sheet afterwards is how you confirm the result, and it is worth keeping the before and after together — if the reading did not move, the routine did not take, and running it again rarely helps.
Other test pages
- Text sharpness test page
- Laser printer test page
- Printer test page PDF
- Color printer test page
- Black and white printer test page
- CMYK test page
If the sheet shows a fault
Frequently asked questions
How do I align a print head?
Every printer has the routine somewhere in its maintenance menu or driver utility, usually as Align Print Head, Print Head Alignment or Calibrate. Run it, then print this page to check the result rather than trusting the routine.
Why is my print crooked on the page?
That is skew rather than misalignment. Square the paper guides against the stack, do not overfill the tray, and load one paper size at a time. If it persists, a feed roller is worn on one side.
Do laser printers need alignment?
They do not have a print head to align, but colour lasers do register four channels against each other and can drift. The crossed diagonals on this sheet show that, and the fix is the printer’s colour registration or calibration routine.